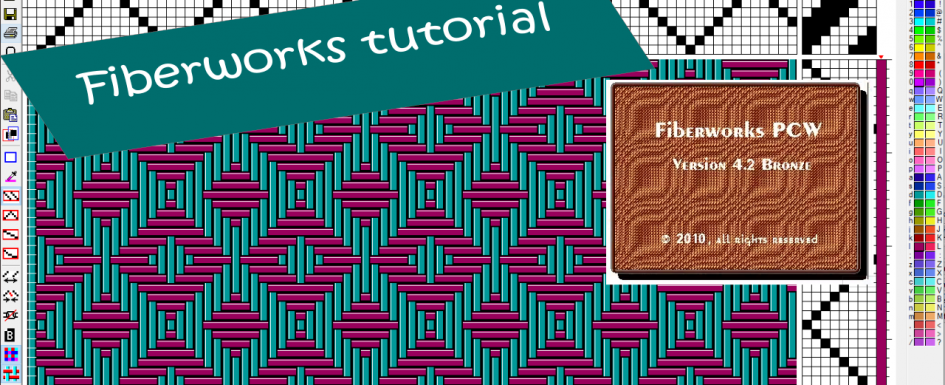
I made an extensive tutorial for Fiberworks. This is software to create weaving designs. I did this by making lots of videos, for which I give the contents here below with a short description of the subjects per video. I’m still working on it, because this software offers so many possibilities, that it takes a while to prepare and record it. So there is more to come!
The version I use in the video’s is Fiberworks PCW (for Windows), version 4.2, Bronze.
Video 1:
- Introduction
- creating a new design
- opening files with weaving designs and some explaining about dtx, wif and des
- link to the video: https://youtu.be/oeP4ETSUWDE
Video 2:
- Maximising and minimising the design area, making it larger and smaller and dragging it
- link to the video: https://youtu.be/kDDp9BYeuP8
Video 3:
- Explanation about the component of the design area:
- threading: the design of the warp, use of which heddles on which shaft
- treadling: the design of the use of the treadles for your weft
- tieup: which treadles are connected to which shafts
- coördinates and how Fiberworks counts
- basic actions for entering the design
- colors for warp and weft (basics, also see other videos)
- changing thread thickness (basics, also see other videos)
- double click to remove changes
- link to the video: https://youtu.be/0YYlATaSuTI
Video 4:
- Other methods to change thread thickness:
- use of the keyboard (finetuning thread thickness)
- through the Warp Thickness or Weft Thickness menu, to quickly change all threads or use a pattern (AB, ABA, ABAB, AABB etc)
- link to the video: https://youtu.be/YwxmpxvFIVo
Video 5:
- Zooming in and out
- Visualize your design in different ways: interlacement and normal cloth
- link to the video: https://youtu.be/DoqUSmWqjH8
Video 6:
- More ways to visualize your design:
- watch the back of the design (back view)
- grid on your design area
- switch between color and black and white
- warp- and weft view (warp drawdown en weft drawdown)
- link to the video: https://youtu.be/Rq99a6mbFNk
Video 7:
- Navigating:
- using the arrow keys
- using page up, page down, home and end, also combined with the ctrl-key
- using the scroll bars
- using the mouse: from top to bottom, but also left to right, and vice versa
- link to the video: https://youtu.be/bwzQ4Bl97k4
Video 8:
- Basics for creating a new design:
- setting the number of shafts and treadles
- opening more designs at the same time
- entering the design by mouse (clicking)
- entering by using the numeric keys on your keyboard and use of the num lock key
- numeric input when using more than 9 shafts or treadles and use of the scroll lock key
- link to the video: https://youtu.be/VCpmd6c1z-A
Video 9:
- Tools to quickly enter standard patterns
- drawing mode: straight, point, line, freehand
- through the menu: warp fill and weft fill for straight, straight reverse, point en rosepath
- link to the video: https://youtu.be/3UATdOJ3c2E
Video 10:
- Basics about colors:
- the color palette
- primary and secondary color
- entering by keyboard and mouse
- change colors in the palette
- pick up previously used color
- remove color from the design (blank out)
- link to the video: https://youtu.be/_reHkUvZwPY
Video 11:
- Quickly enter standard color patterns (AB, ABA, ABAB, AABB etc) through the menu: warp colors en weft colors
- link to the video: https://youtu.be/1KNqKBqf4kE
Video 12:
- Modifying the color palette
- Set the color palette preference
- Switching color palettes in an existing design
- link to the video: https://youtu.be/v_HzVzgc8zA
Video 13:
- Removing or adding threads from and to your design:
- through the menu or the taskbar buttons
- adding or removing a single thread or more than one the same time
- using the keyboard: how the insert, delete and backspace key work
- link to the video: https://youtu.be/Ikx0hBuLljY
Video 14:
- Unlink: work on design, color and thread thickness separately from each other
- link to the video: https://youtu.be/sIx4AqRUzHU
Video 15:
- Saving your design: as dtx or wif-file
- How to ignore made changes
- Making a copy of your design
- link to the video: https://youtu.be/8jlVdrfw8hE
Video 16:
- Copy, cut and paste
- of the design, colors and thread thickness
- from warp to weft and vice versa
- use of taskbar buttons, menu and shortcut keys
- from one design to another
- effect of using different palettes
- select all menu for copying several components the same time
- copying the color palette
- link to the video: https://youtu.be/Fhae2t5dw_g
Video 17:
- Copy, cut and paste using the mouse
- link to the video: https://youtu.be/SvRosNp9TCA
Video 18:
- Transform: mirroring, rotating and shifting your design of the threading, treadling and tieup
- link to the video: https://youtu.be/H3J8Tksz8mo
Video 19:
- Transforming colors: mirroring and shifting within the color palette
- link to the video: https://youtu.be/q-fYnHxH5Vk
Video 20:
- Make an image of your design and use it in other software:
- through copy image
- using windows tools
- link to the video: https://youtu.be/oFFGC6LO-GU
Video 21:
- Entering and changing the design by using the plus and minus keys
- link to the video: https://youtu.be/erL7pWtLDW0

