
This tutorial is split up in several parts.
- page 1: introduction and explanation, click here to go to that page
- page 2: photo tutorial rows 1 and 2, click here to go to that page
- page 3: photo tutorial row 3, click here to go to that page
- page 4: photo tutorial row 4, click here to go to that page
- page 5: photo tutorial rows 5 and 6, that’s this page
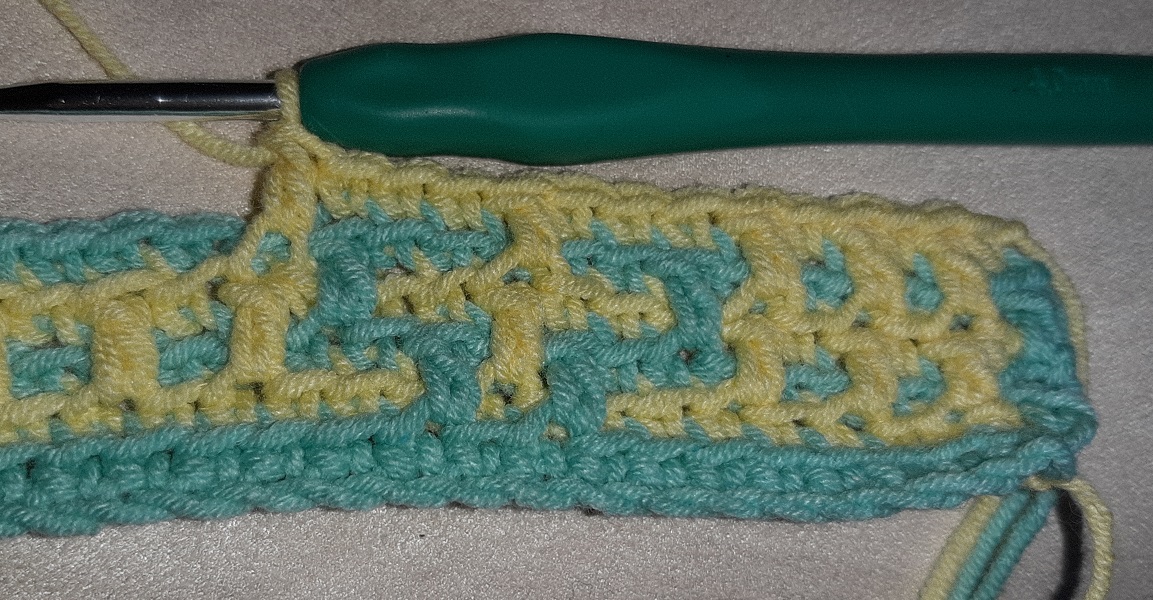
Row 5, color 1
The written instructions are: swdc || *(5x)* 2x || 11x || 1x || 5x || ewdc
The pattern chart:

We will go through the pictures now quickly. The way to do mosaic crochet will probably be clear by now, but this is just a bit extra for the ones that like an extra check.
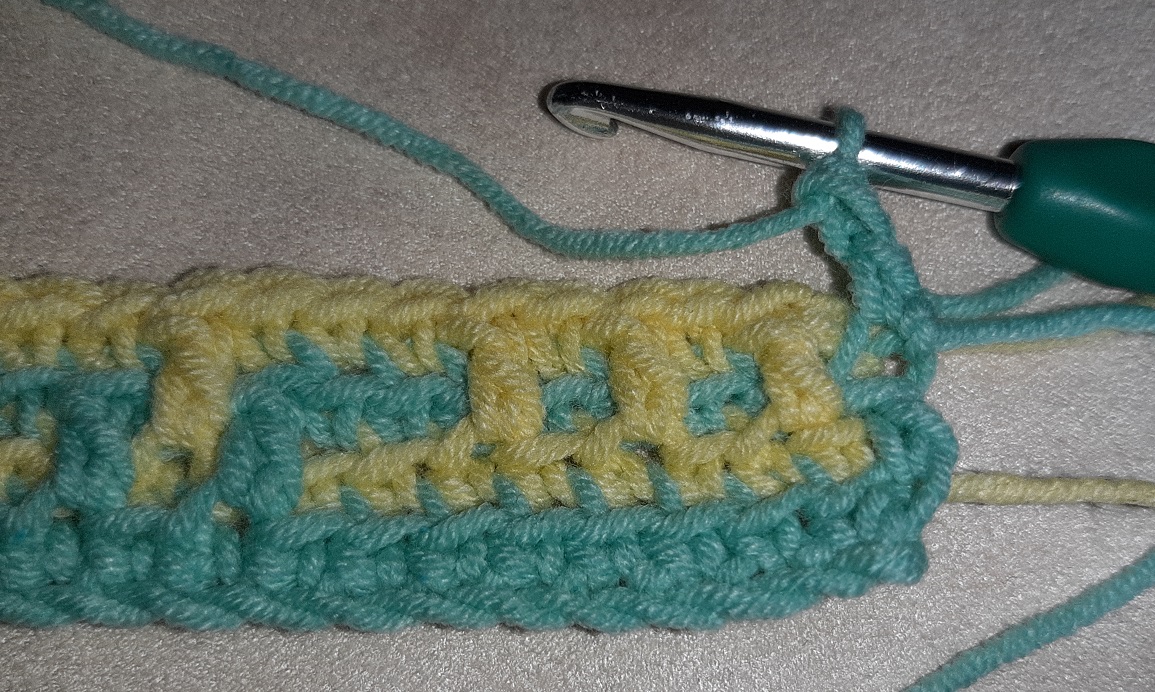
swdc: start with dc
*(5x)* 2x: 5 sc’s with a dc, twice
11 sc’s with a dc
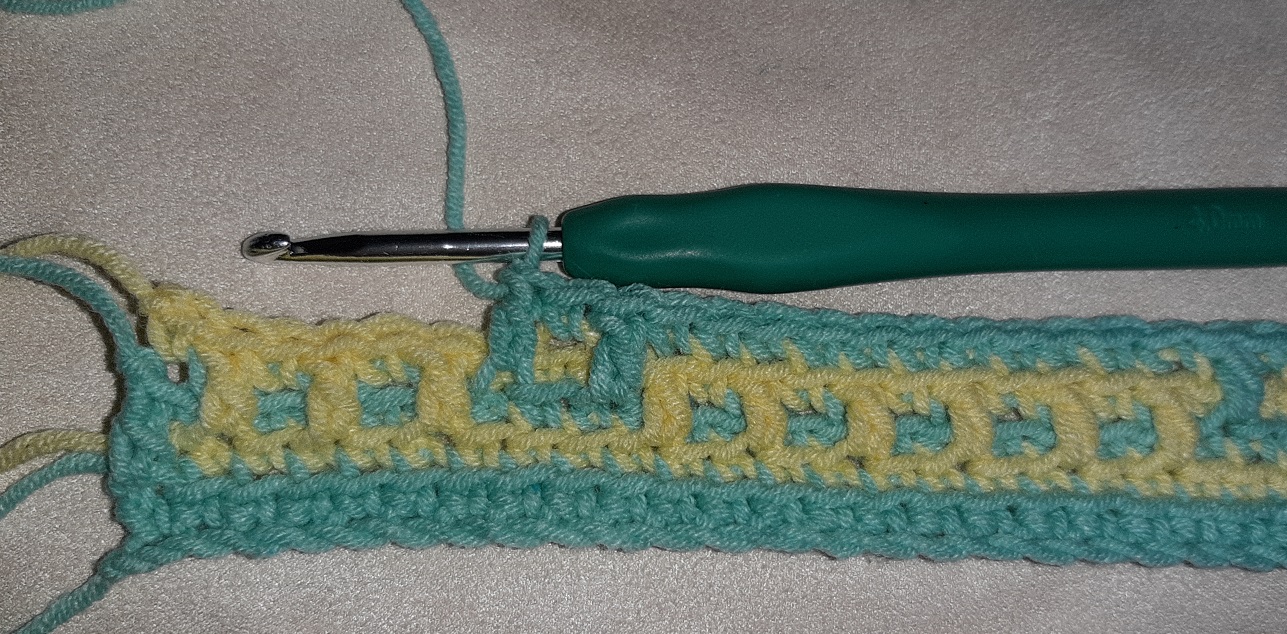
1 sc with dc
The last 5 sc’s (without dc).
ewdc: end with a dc
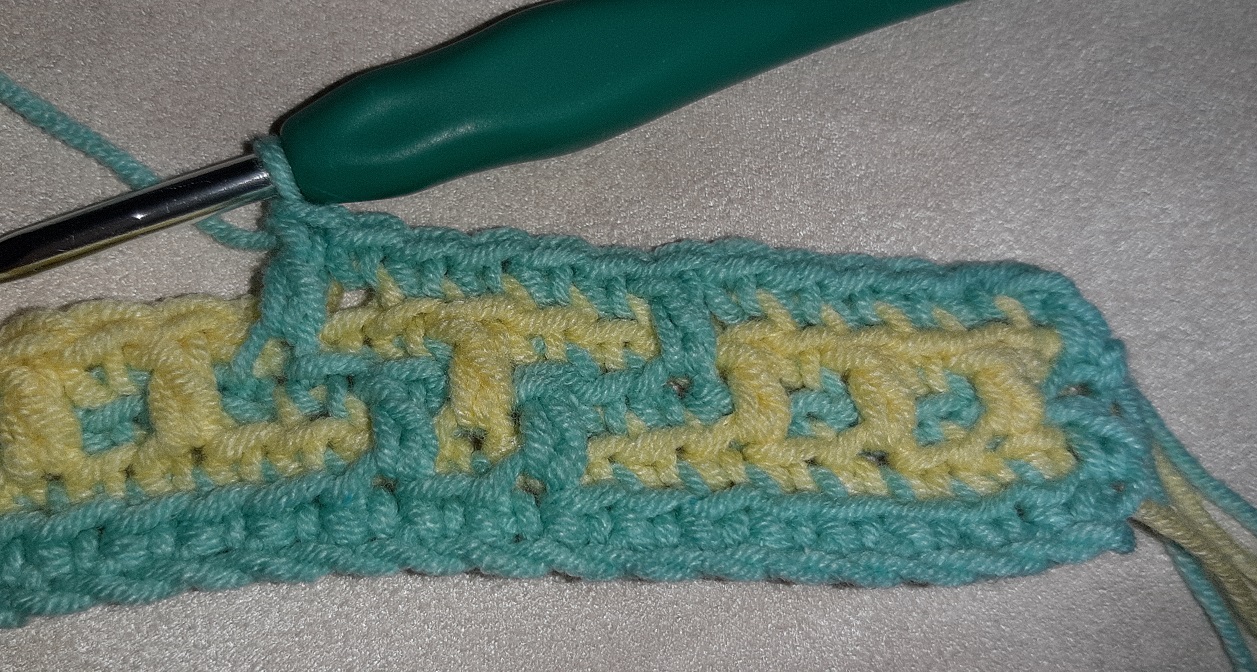
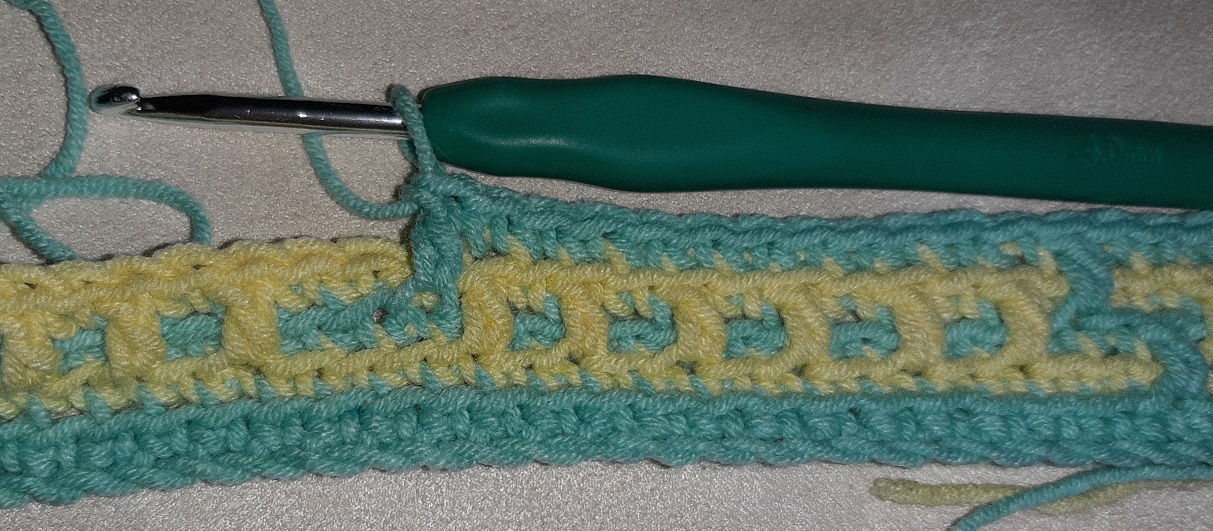
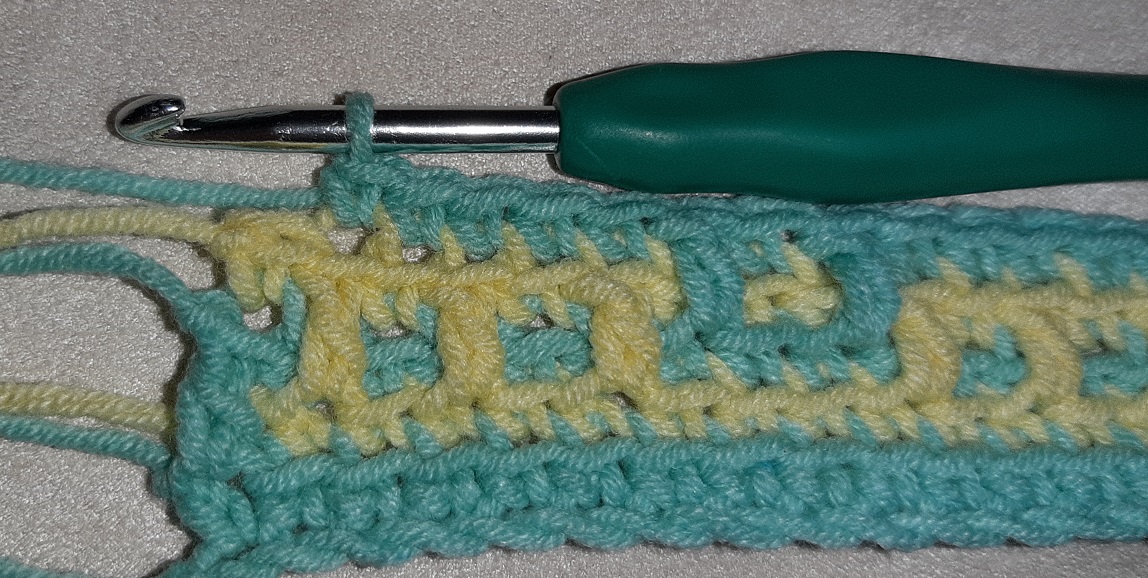
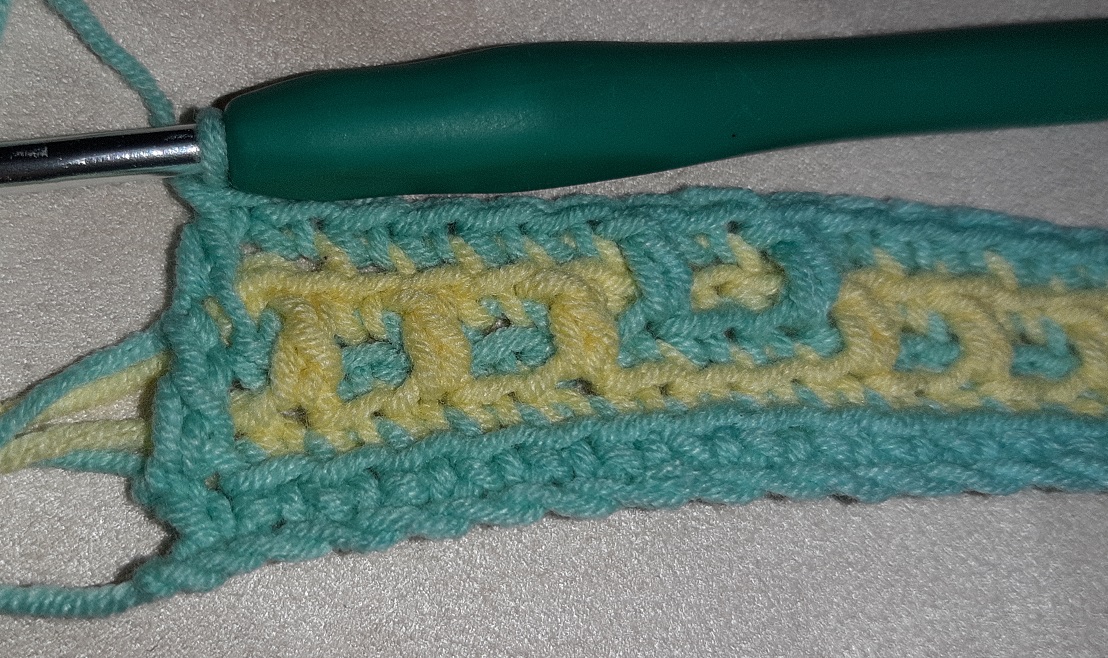
Row 6, color 2
The written instructions are: *(1x)* 3x || *(3x)* 2x || *(1x)* 4x || *(3x)* 2x || 1x || 1x
The pattern chart:

3 times 1 sc with dc’s
2 times 3 sc’s with dc’s
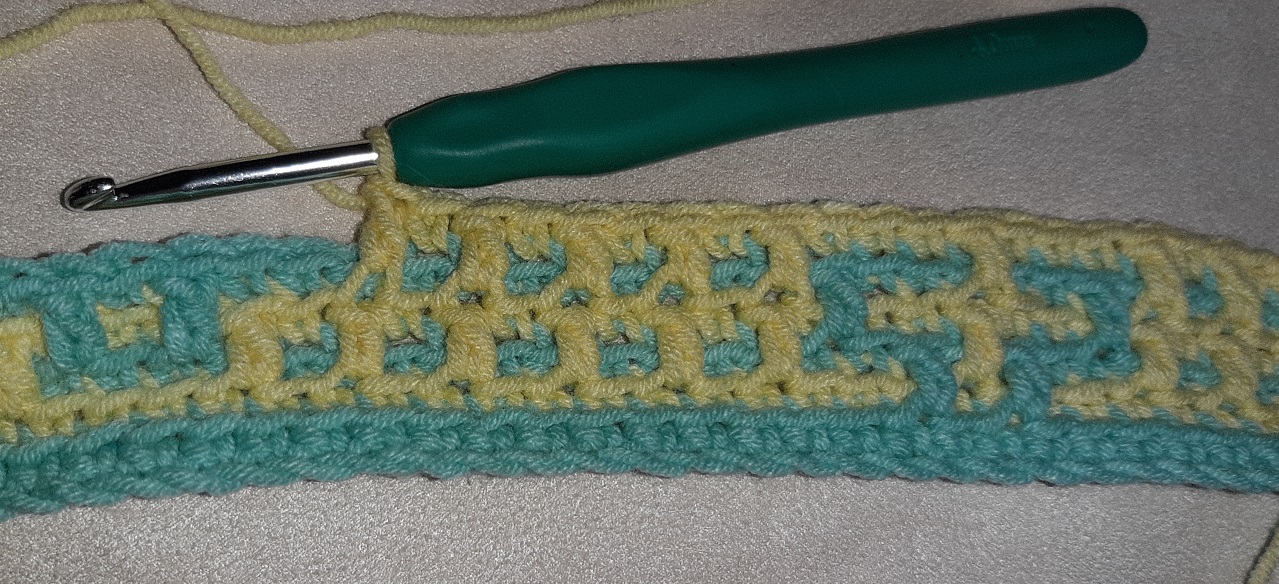
4 times 1 sc with dc’s
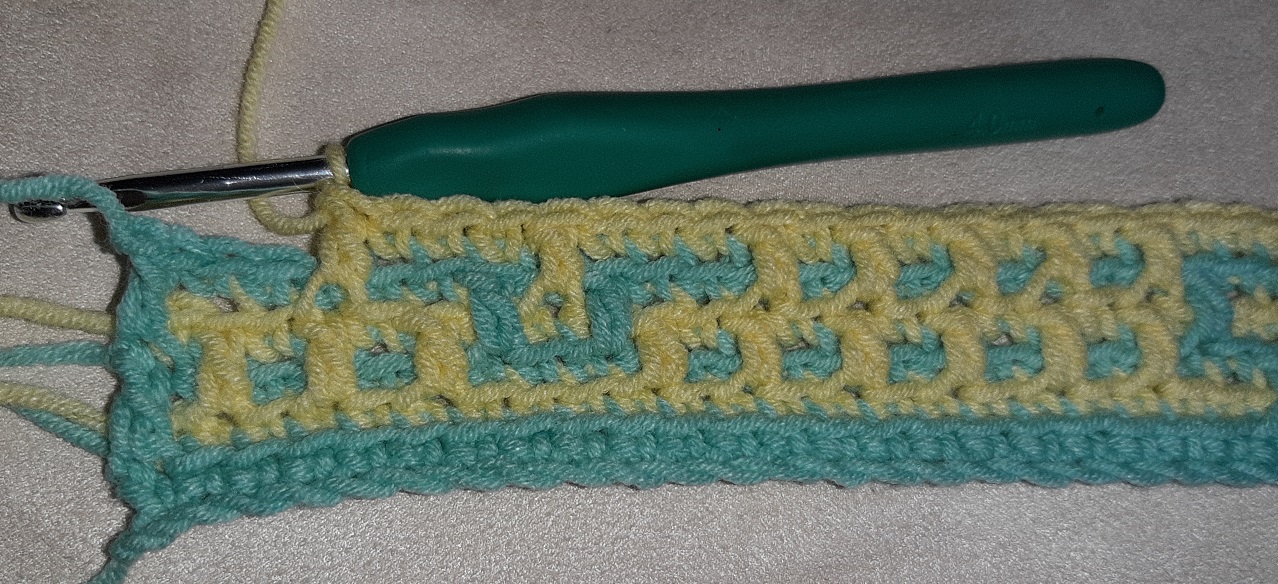
2 times 3 sc’s with dc’s
The last 2. I know that the instructions actually had to be *(1x)* 2x, this is a little flow in my software that I need to fix later, but you will probably understand you have to do a sc twice, and that you don’t do a dc after the second sc. You have to end into the last stitch of the previous row with the last sc.
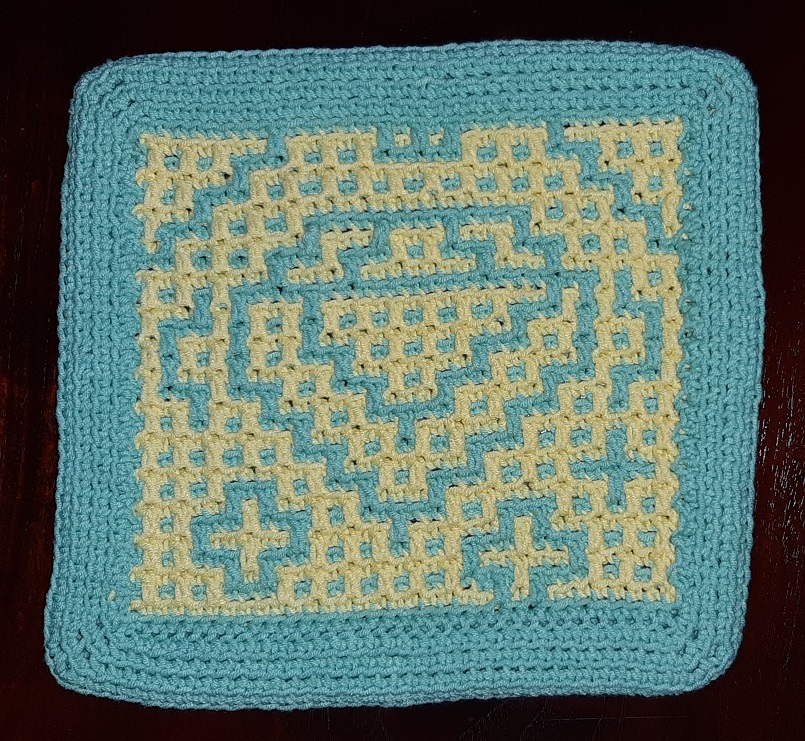
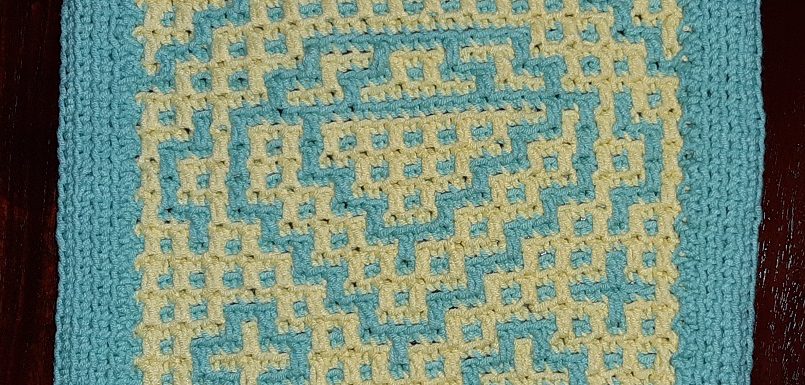
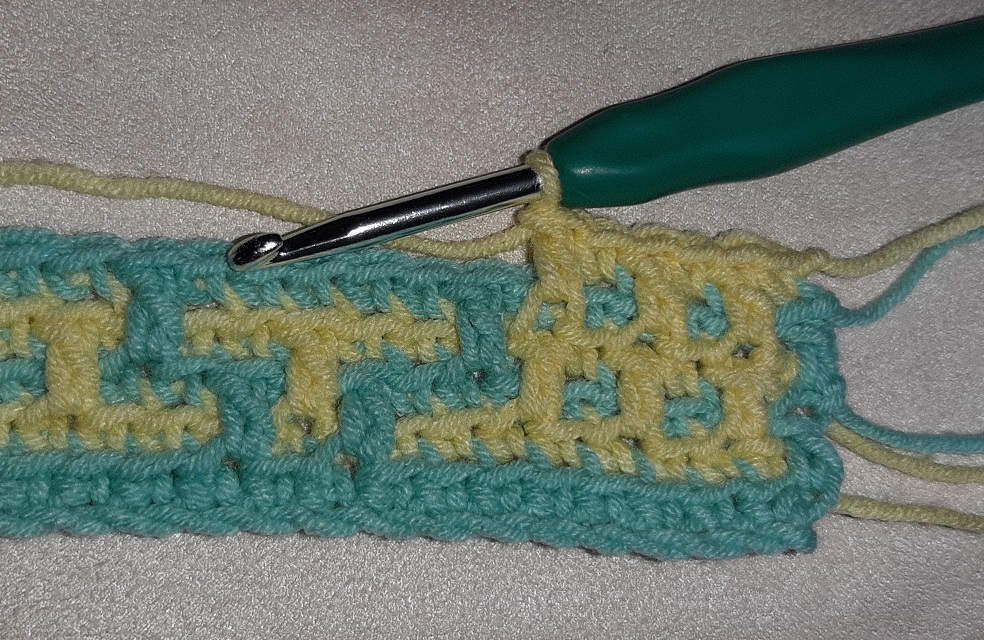
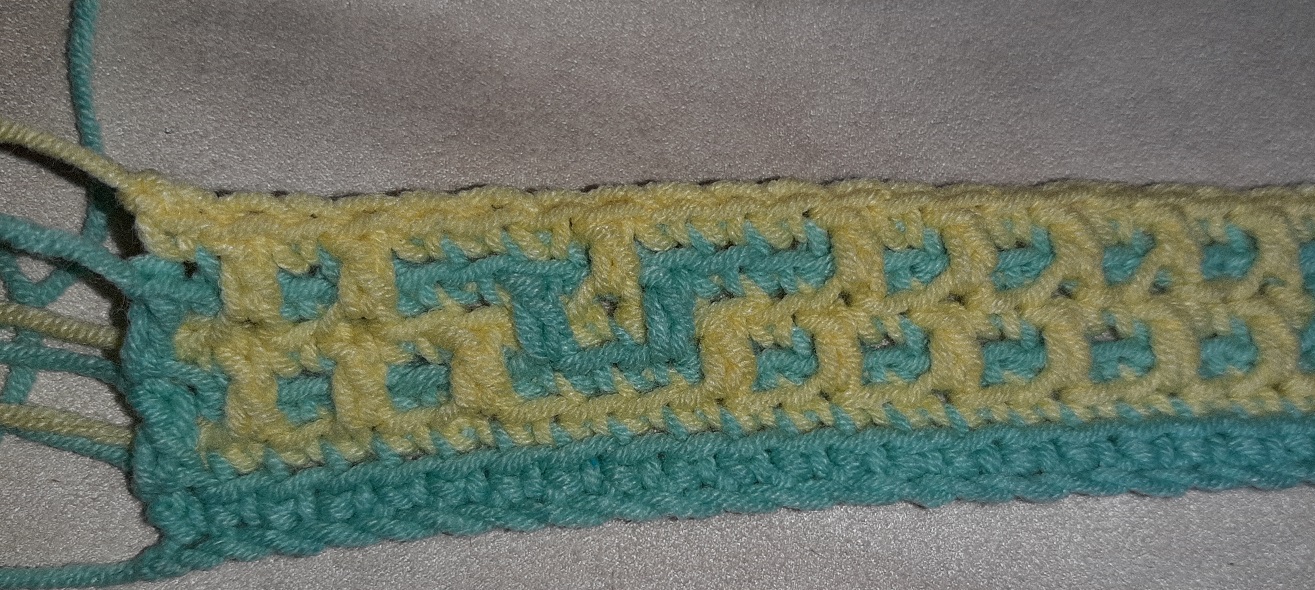
And here a picture of the entire piece, with a border.
More tutorials
I will make a tutorial about the ‘ folded border’. This is very simple to make! I will also do a tutorial about fixing errors. Look in the menu if they are already there!
For now I hope you found this a good tutorial. Also watch my videos with the tutorial!
The videos