In this tutorial I teach you how to do the solid squares variation for interwoven crochet (also called locking filet crochet or intermeshing crochet). It is actually necessary that you’ve already mastered the technique for regular interwoven crochet. You can learn all about this on the pages of the HAL CAL menu of 2018 or here for the very first start (click here). You will find photo tutorials there and the links to the accompanying videos.
Pages of this tutorial
This tutorial is split up in several parts.
- Introduction and some background information: that’s this page
- The setup, rows 0a to 1b: click here to go to that page
- Rows 2a and 2b: click here to go to that page
- Rows 3a to 5b: click here to go to that page
- The border: click here to go to that page
Videos
I also made some videos for this tutorial. Click in the list below, the playlist (click here) or look at the end of this page:
- video 1: Introduction and some background information: https://youtu.be/NL9UrtaLb5w
- video 2: The setup to row 1b: https://youtu.be/s3m99D5g5-U
- video 3: Rows 2a and 2b: https://youtu.be/2jrk8EUPyz4
- video 4: Rows 3a and 3b: https://youtu.be/DcYlyLwMf6k
- video 5: Rows 4a to 5b: https://youtu.be/xb-aO-wqj0k
What’s the difference with ‘regular’ interwoven crochet
You probably know that interwoven crochet is actually 2 layers of filet crochet, that form a pattern by crocheting the double crochets of the 2 filet meshes in front or at the back of each other. With (single layered) filet crochet you make patterns by having open squares and squares that are filled with dc’s. With regular interwoven crochet you work with meshes with open squares, with the solid squares variation you work with 2 meshes where you will also have closed squares next to the open squares. This gives an extra design opportunity, because you can have larger lighter or darker areas in the design.
The project you will be making will use more yarn, and depending on the pattern the usage of one color can be higher than the usage of the other color. With regular interwoven crochet the usage of both colors is almost the same. With my patterns I will tell you how much yarn you need per color.
Pattern
Download the pattern here (click on this).
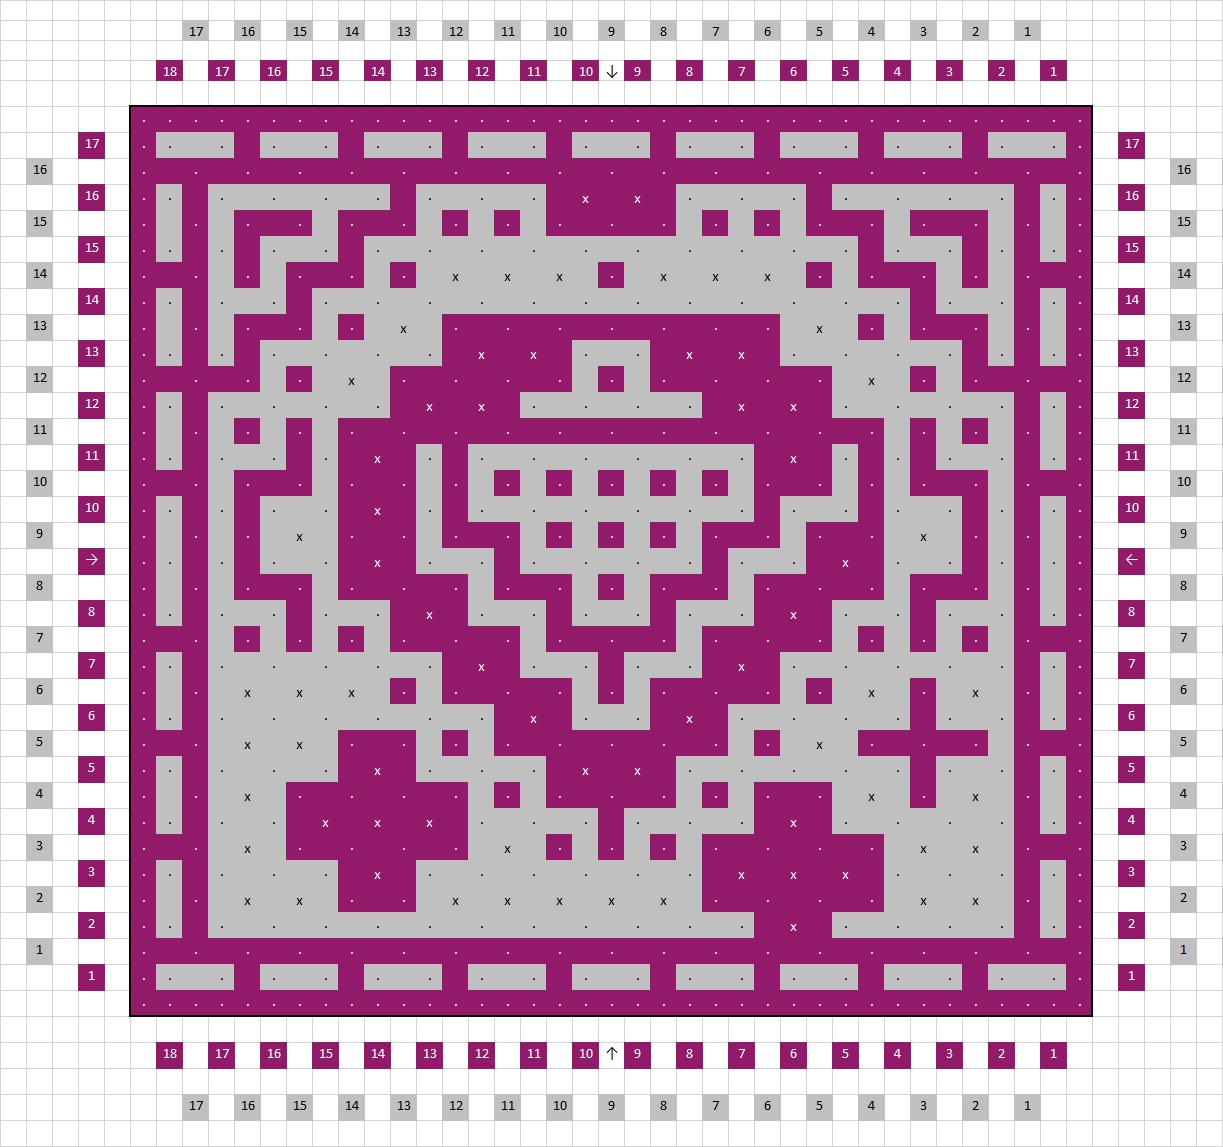
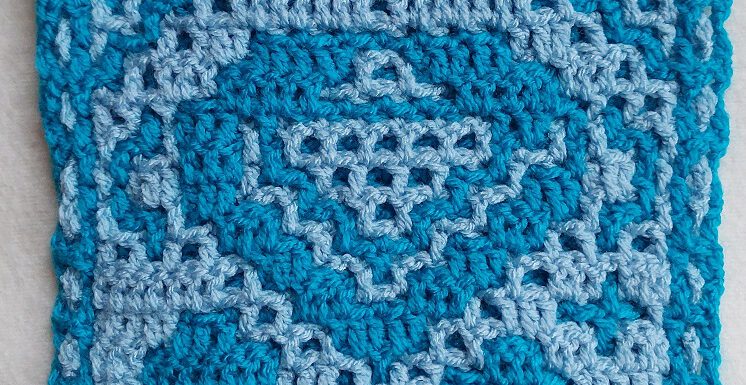
The pattern we will be using is a pattern that you will maybe recognize: the diamond that I designed for the mosaic crochet tutorial. I’ve changed it a bit so that we will run into several situations that you can encounter in a pattern.

Click on the picture to see the full pattern.

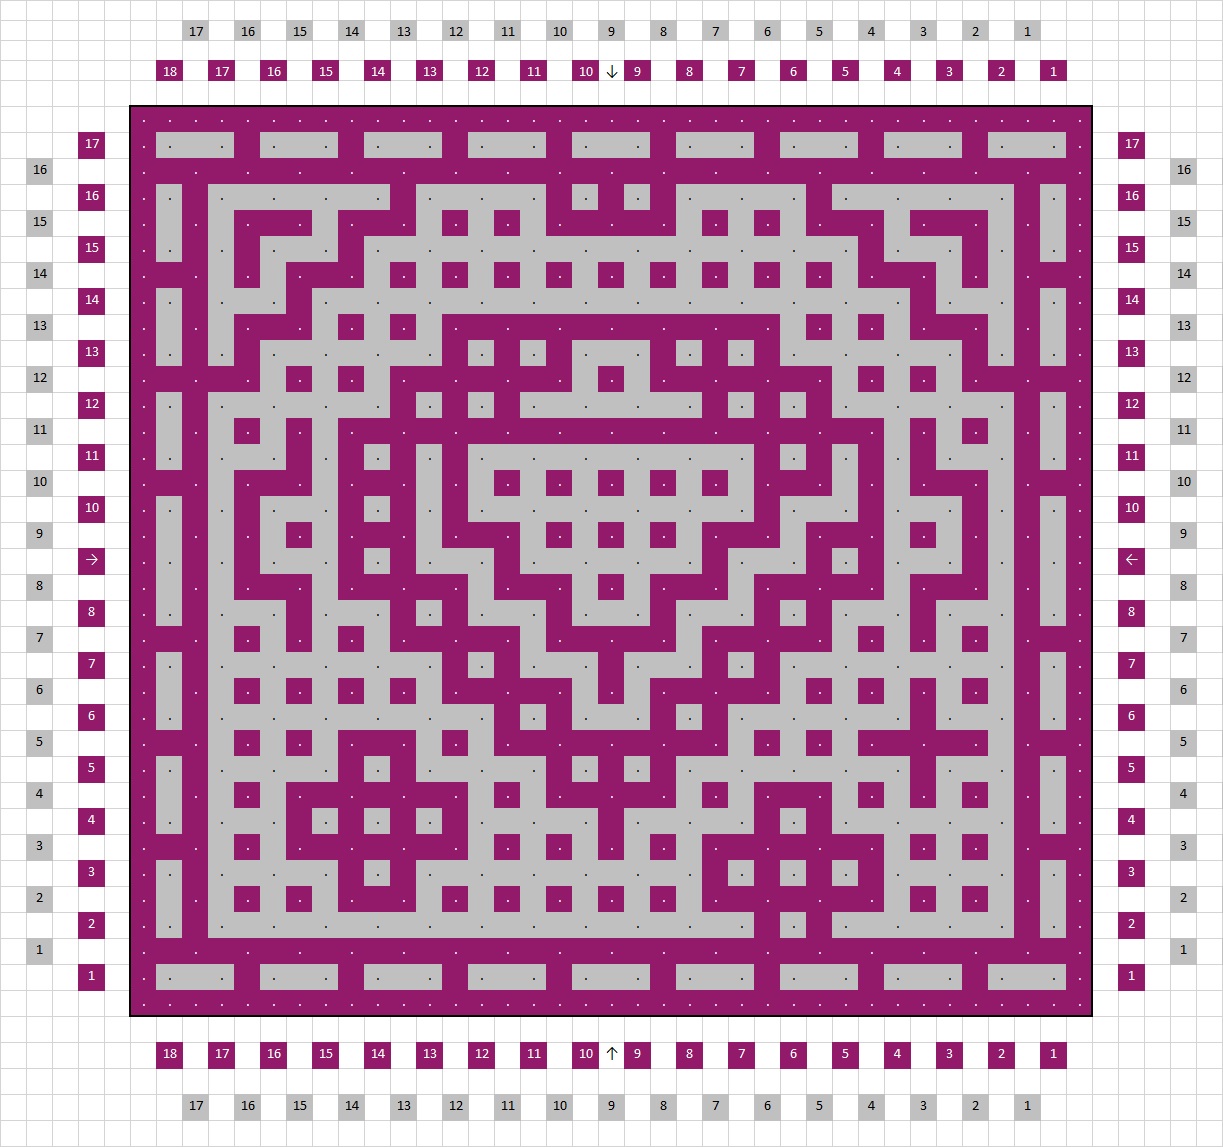
If you would make this pattern with open squares (regular interwoven crochet), then it would look like this (click the picture). These are actually the same patterns, but with the solid squares variation I ‘closed’ some of the squares, with color 1 as well as with color 2. So you see that you get some darker and some lighter areas, and this offers me more possibilities to play with patterns.
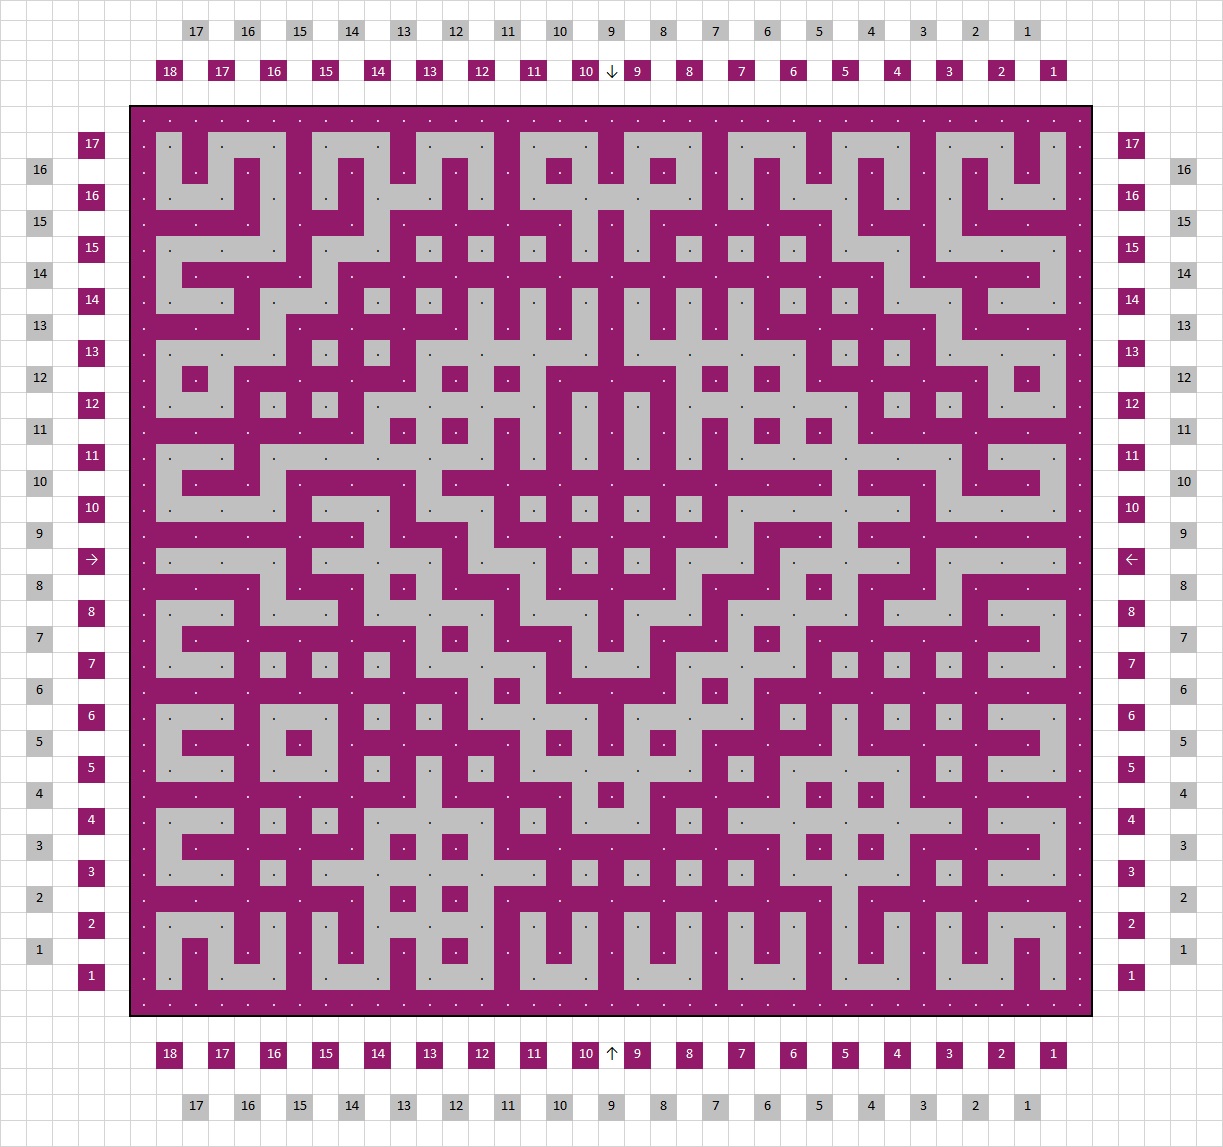
Back is the same

If you would crochet both patterns, you would get the same backside! This is because the extra double crochets you will be making to fill up the gaps will only be made at the front side of the piece! This does have 1 minor disadvantage though if you are used to working with the pattern chart of the back when working on the back side of the piece: you cannot actually see where the extra dc’s have to be made! I have thought a bit how to visualize this (it can be done, but I haven’t done it for now), but it’s just more handy to just use the written instructions, and use the pattern charts for checking.
Single sided
The closed squares could also be added to the back of the pattern, but I didn’t do that (yet). I could call this the single sided solid squares variation for interwoven crochet. Maybe I will do a double sided variation later, because that would be lovely for a shawl!
No solid squares at the borders
I’ve decided to make my patterns in such a way that you will not have solid squares at the bottom border, the top border and the side borders. Especially for the setup this will be a lot easier, and also for the sides it’s just easier for you.
The instructions for solid squares
For crocheting the solid squares variation I’ve made a little addition. The instructions of regular interwoven crochet are still valid, but for making the closed squares I have a slightly different notation.
For regular interwoven I tell how many times a dc has to be made at the front or the back, for example ‘f 3x, b 5x’. You know that there is always 1 in-between chain between the dc’s. With a solid block (a couple of solid squares after each other, but don’t mind this terminology too much, in my videos I mix them randomly 🙂 ) you will have a couple of dc’s right next to each other without the in-between chains! Hence the name! I make this clear by adding a number directly in front of the ‘f’ or the ‘b’ that say how many dc’s you have to make next to each other. So for example ‘7b 1x’. This means that you have to make 7 dc’s right next to each other! Without in-between chains. You do crochet an in-between chain after a solid block. Suppose you see ‘9b 3x’ in the instructions, then this means you will get 3 blocks at the back: 9 dc’s next to each other, an in-between chain, 9 dc’s next to each other, an in-between chain and another 9 dc’s next to each other and an in-between chain.
Pay attention
With regular interwoven you work front and back alternatingly. You will never find something like ‘b 3x, b 5x’ right behind each other in the instructions. But you can encounter this with the solid squares variation: ‘b 3x, 11b 2x’. This means you will work at the back both times. This is 3 dc’s with in-between chains and 2 blocks of 11 dc’s without in-betweeen chains (and of course an in-between chain between the 2 solid blocks!).
Crochet instructies on the next page
On the next page I will show you how to do the solid squares: click here to go to that page.
Videos

