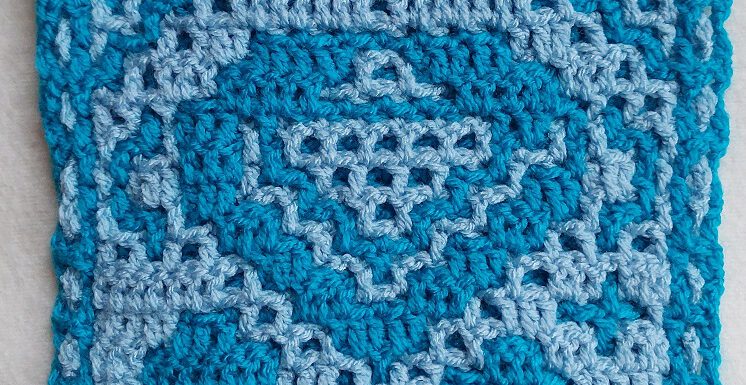
Pages of this tutorial
This tutorial is split up in several parts.
- Introduction and some background information: click here to go to that page
- The setup, rows 0a to 1b: click here to go to that page
- Rows 2a and 2b: that’s this page
- Rows 3a to 5b: click here to go to that page
- The border: click here to go to that page
Videos
I also made some videos for this tutorial. Click in the list below or look at the end of this page:
- video 1: Introduction and some background information: https://youtu.be/NL9UrtaLb5w
- video 2: The setup to row 1b: https://youtu.be/s3m99D5g5-U
- video 3: Rows 2a and 2b: https://youtu.be/2jrk8EUPyz4
- video 4: Rows 3a and 3b: https://youtu.be/DcYlyLwMf6k
- video 5: Rows 4a to 5b: https://youtu.be/xb-aO-wqj0k
Row 2a
In row 2a we will make the first row with solid squares in it.
The instructions say: color 2 to back, side st, b 1x, f 10x, 3b 1x, f 3x, b 1x, side st. The part that is marked blue is where we will make a solid square. You will recognize this by the fact that there’s a number directly in front of the ‘b’. With the even rows we work at the back of the work. You will only see solid square blocks at the back (= the front side of the piece) with this single sided version of the solid squares variation.
Click on the pictures to see them fully and full size. I only show the pictures where it is important for the explanation. I assume that you know how to do the rest of the row in regular interwoven crochet. In the video I do show the entire row.
First we do the start of the row in regular interwoven crochet.
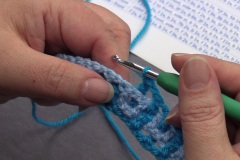 After the 10 dc’s in front we have come to the place where we do a solid square of 3 dc’s next to each other at the back. The first dc is made just at the place where you expect it to be made. Now don’t do an in-between chain!
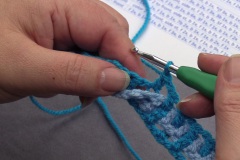 Fold the border in color 2 a little bit to the front, so you can see how it looks at the back. You see an opening (always look at the previous row in the same color) where the next dc will be made.
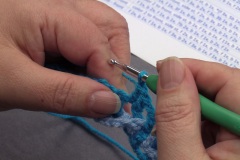 The second dc is now made. Again, don’t do an in-between chain!
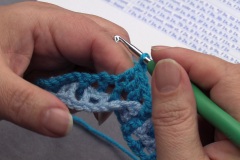 And now do the third dc of the solid square into the next dc of the previous row.
The solid square of 3 dc’s is now finished, and now you do make an in-between chain to go to the next stitch.
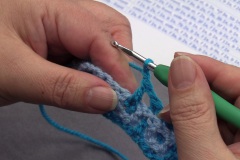 The next dc is done at the front, following the instructions, into the next dc of the previous row.
The rule is that the odd dc’s of a solid square are always made into a dc of the previous row (of the same color). These are the dc’s that make the grid or mesh. The even dc’s are made into a chain-opening, or into a dc of the previous row (of the same color) if you have a solid square right below it.
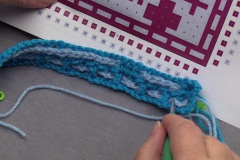 This is how the solid square looks at the front side. You can compare this with the pattern chart.
Row 2b
The instructions for row 2b are: b 1x, 5b 1x, f 1x, 11b 1x, f 3x, 5b 1x, b 1x. So this row contains 3 blocks with solid squares, the parts marked in blue. Another thing you also see here is that you have to work at the same side of the work. With regular interwoven crochet you work front and back alternately. Here you see that the row starts with a dc at the back (b 1x), and right after it a solid block at the back again (5b 1x). It could happen that you have to do an entire row at the back (or front if you work on an odd row), with all different solid blocks and ‘regular’ single dc’s! So this is something you really have to pay attention to!
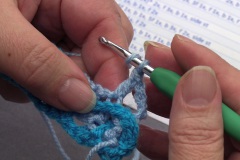 Here the first dc of the first solid block at the back is made.
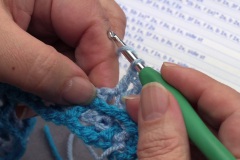 Here the second dc is made into the chain-opening of the previous row in color 2.
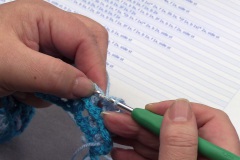 Here you will do the third dc, into the dc of the previous row.
 Here you will do the fourth dc into the chain-opening of the previous row in color 2.
 Here you do the fifth dc, again into a dc .
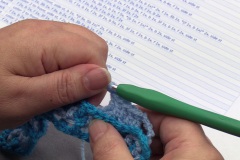 This is how the block looks when you have finished it. Don’t forget to make an in-between chain before going to the next stitch.
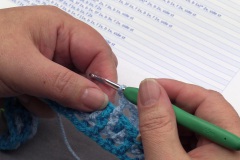 The next stitch in front is made. Make an in-between chain before going to the next solid squares block.
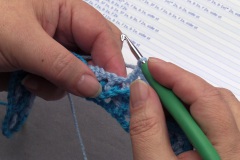 The first dc of the block at the back.
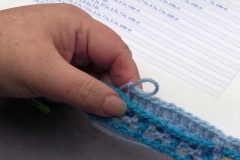 All 11 stitches are made. Check if the odd dc’s are done into a dc of the previous row of color 2, and the even dc’s into a chain-opening.
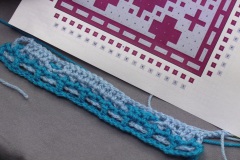 And this is how the row looks at the front when you have finished it.
Go to the next page where I show how to do solid squares at the front.

