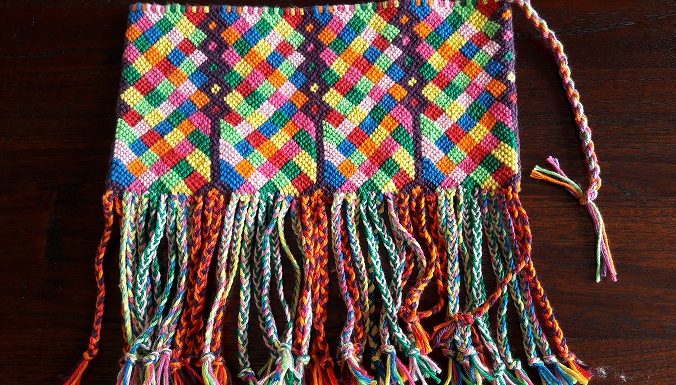
The lower border

Almost finished! I want to share some last things with you. You can see in this picture that I ended at a certain length. I had enough yarn left to continue for a couple of rows, but I thought it as ok actually. The bag had a nice depth for what I want to use it for, so time to end it.
To get a straight lower border, you must first get all knots in a straight line. With the colored block this is done by knotting half blocks. At the yellow parts you can see I did a row of 4 knots first, then a row of 3 knots, and next a row of 2 knots and at last 1 knot at the corner on the right side of the block. Just for fun I made a slight variation at the purple line. It was possible to switch over from the purple zigzag line to a purple straight line, and it was also possible to switch back. In this way I got a fun standing figure on the lower border. So, a final switch in the design. I have worked it out in my digital design, and I will add that to my patternlist on this website in a short while.
And… ready knotting the motif!
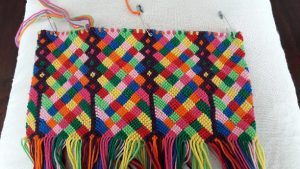
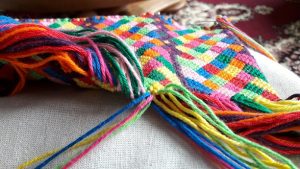
And, then it was finished! The knotting of the motif, that is. Because now the lower border still has to be closed. I fold over the bag at the place where I want the sides to be, and take a thread from the front of the bag and a thread from the back of the bag, and tie them together. Nothing special, just a knot like you use for your shoe laces. Be very alert to pick up the threads in the right order, because otherwise you bag will get skewed.
Finishing touch: making the braids
I love braids. It just so fits with this kind of knotting. Ehm, practicle? Ehm, maybe not so, actually, but I think they’re fun, so I will do them anyway. And I’m going to make them quite long also 🙂 . I do make them the same length usually. It doesn’t have to, of course. You have enough length left to decide what you want, maybe you would make to make them in a wave-shape 🙂 . Okay, what I do, is first cut all threads the same length.
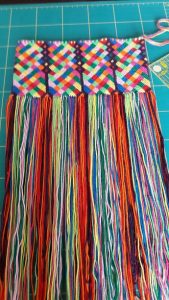
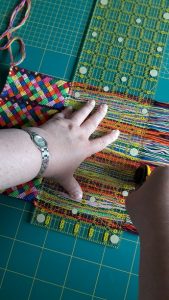
I start with putting all strands next to eachother in a neat way. I ‘comb’ them with my fingers on my cutting mat, so there are no threads crossing eachother or slanting. You can also see here that I had quite some length left of my threads, so I could have continued for a while if I had wanted to.
I simply placed my cutting ruler to the lower border, and cut the threads to the size of the width of my ruler. This is 6 inch (approximately 15 cm). I found that to be a nice length. And then I could start braiding. I used 6 strands of yarn per braid, this ends up perfectly.
And here it is!
The braids are done, I twisted the threads of the upper border to get a rope, finished! Isn’t it cheerful?
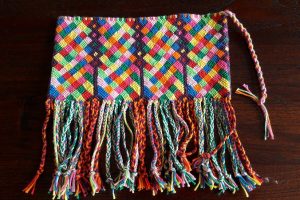
The end… but there is more to come!
This is the end of this blog about making this little bag. I took you on my journey, where I started with having an idea, where I figured out the design, how I started, what I ran into, to the final result. Yes, I do have to make the lining with the zipper, but this is it as far as the knotting is concerned. And you can choose for another closure if you would like to. The sky is the limit, I use to say 🙂 .
I am going to add the digital design to my list of patterns, so I will let you know the moment it is there. And oh, I almost forgot: the video’s!!!!! Yes, they are on their way, I talked with my video-guy about what I want for the editing, and he is going to work on that. So, the instruction video’s will be on my YouTube channel soon. If you didn’t knot this along with me, because you still found it a bit difficult, you can follow each step in the video’s.
I hope you enjoyed these blogs about this little bag. In the future I will definitely share more about knotting or macramé. There are so much fun things you can make! At the moment I’m playing around with a Zoom Loom. Google it, so you can see that this is a kind of mini-loom. And that is so fun! Super simple, really, and so suprising. When using variegated yarns you get such nice surprising effects. Something else, compared to knitting and crochet 🙂 (I still do this also, I can honestly assure you! before I get angry comments 🙂 ). And so relaxing to do. Just sitting like a bag of potatoes on the couch, Zoom Loom in my hand, oh, how relaxing can crafting be 🙂 🙂 🙂 . But, later! So keep watching my blog, for news about the pattern, the video’s, and other nice stuff! See you next time!

