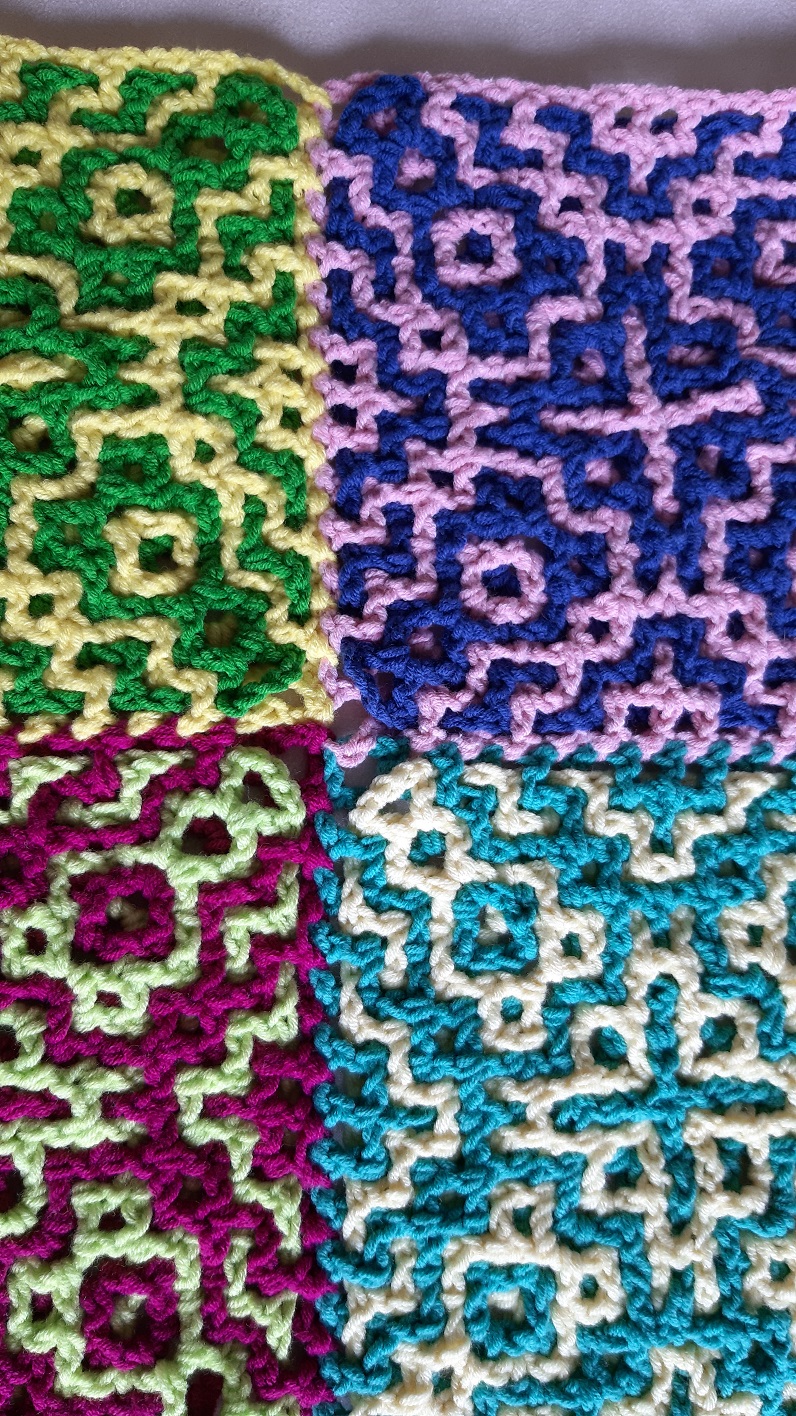
Pages of this tutorial
I splitted the tutorial up in several pages.
- Introduction and first join: click here to go to that page
- Next join: click here to go to that page
- Last join: that’s this page
Third join
Click on the pictures to see them full size.
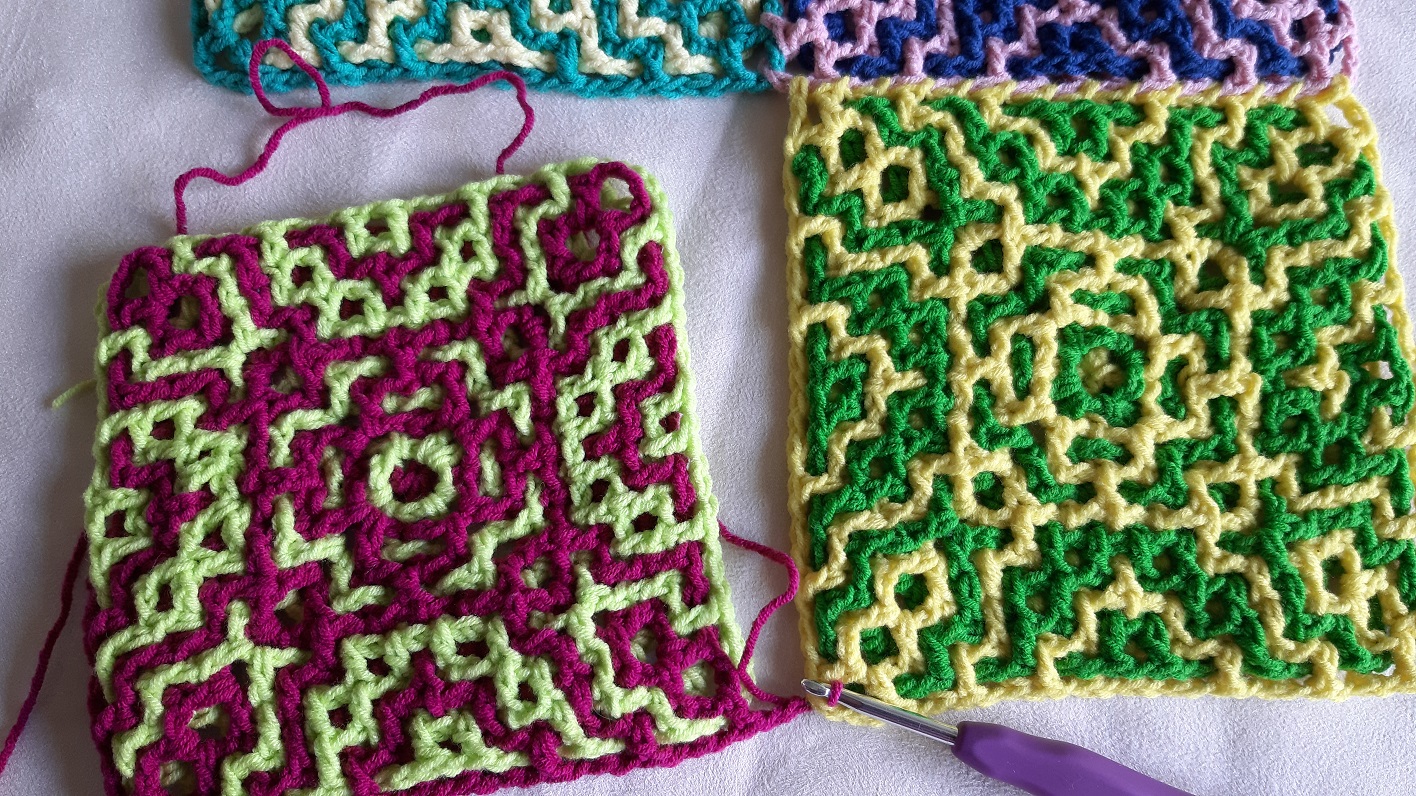
With the fourth piece you have to make 2 joins. Start with the first part of the join as you did it with the other borders.
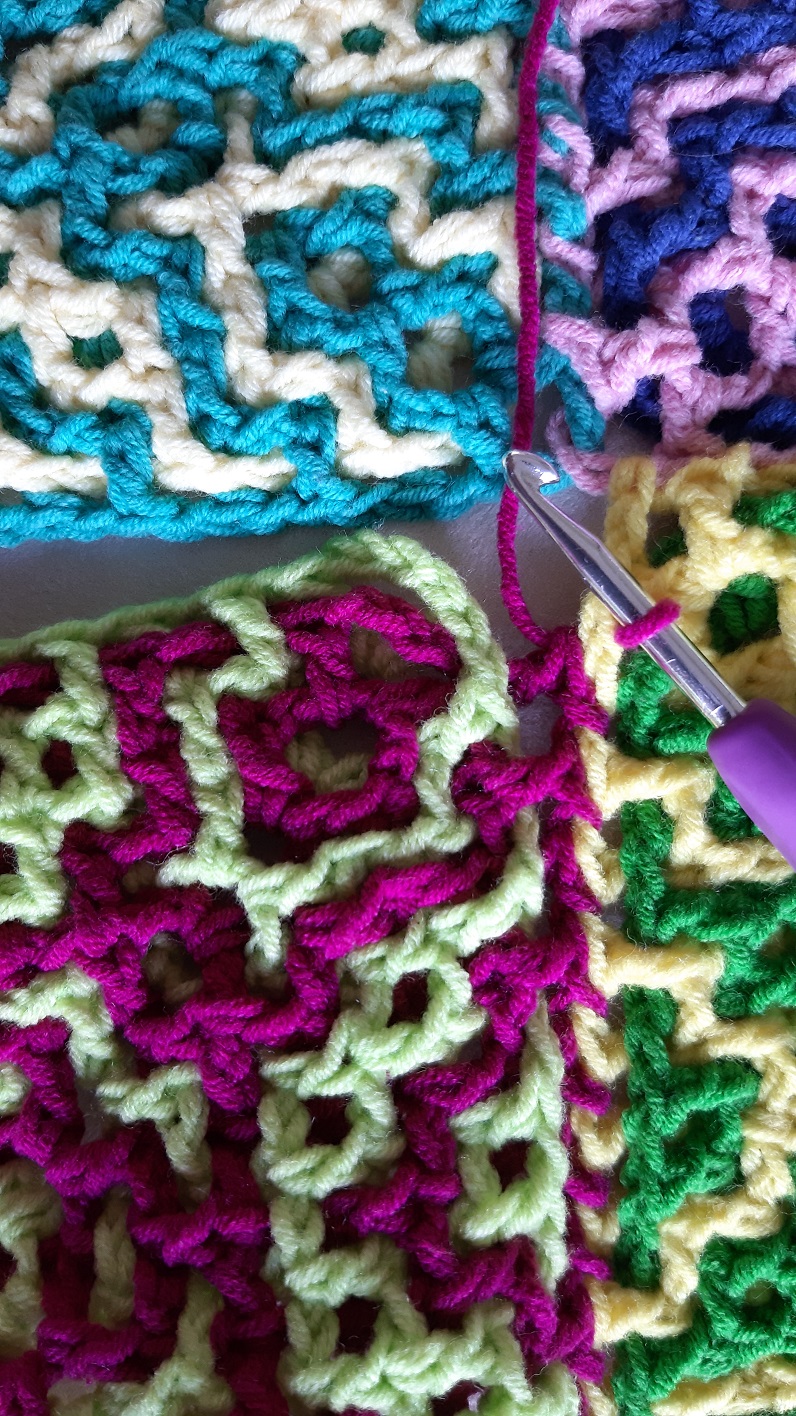
Here the dc just before the corner is made and the loop is pulled through for the in between chain.
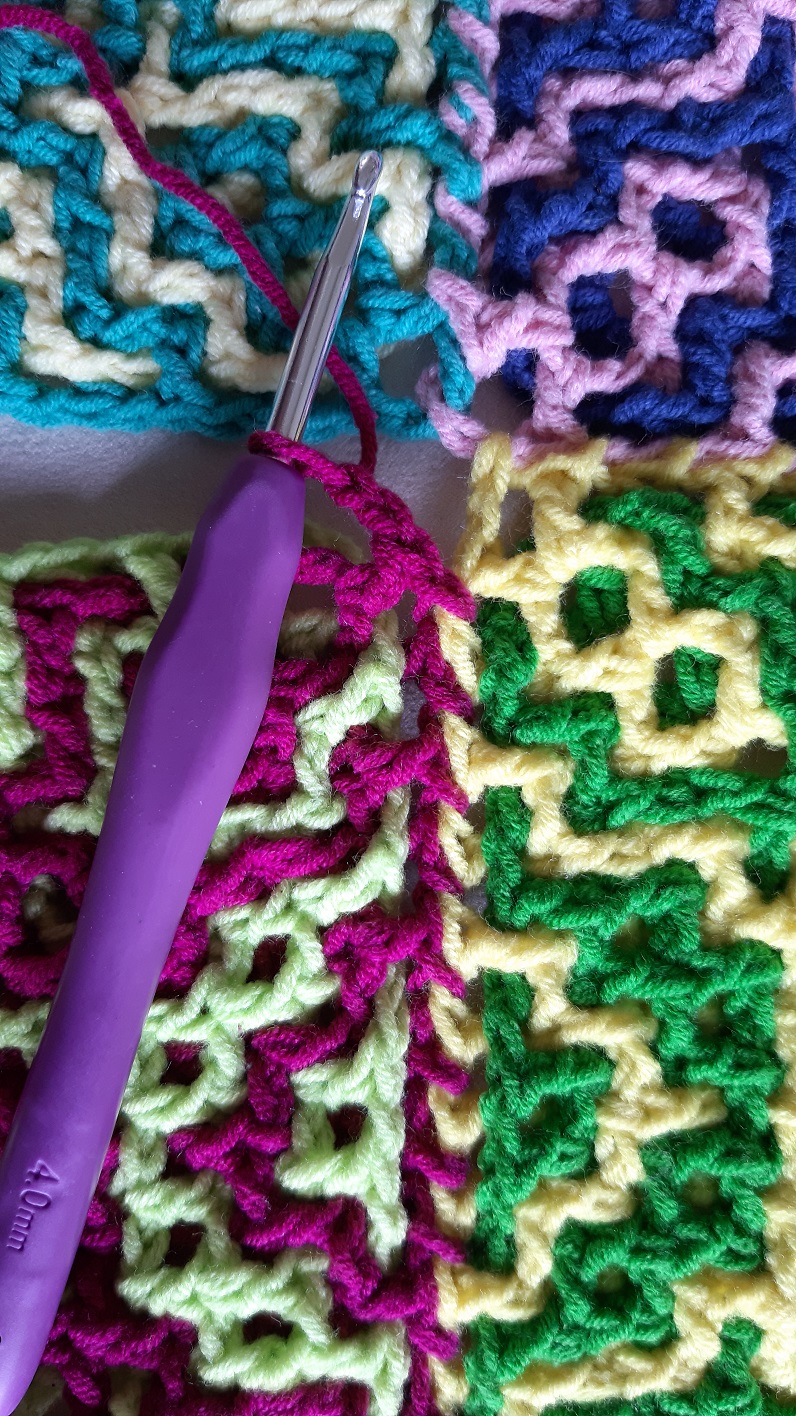
Here the last dc at the front is made at the corner and also the first 2 corner chains.
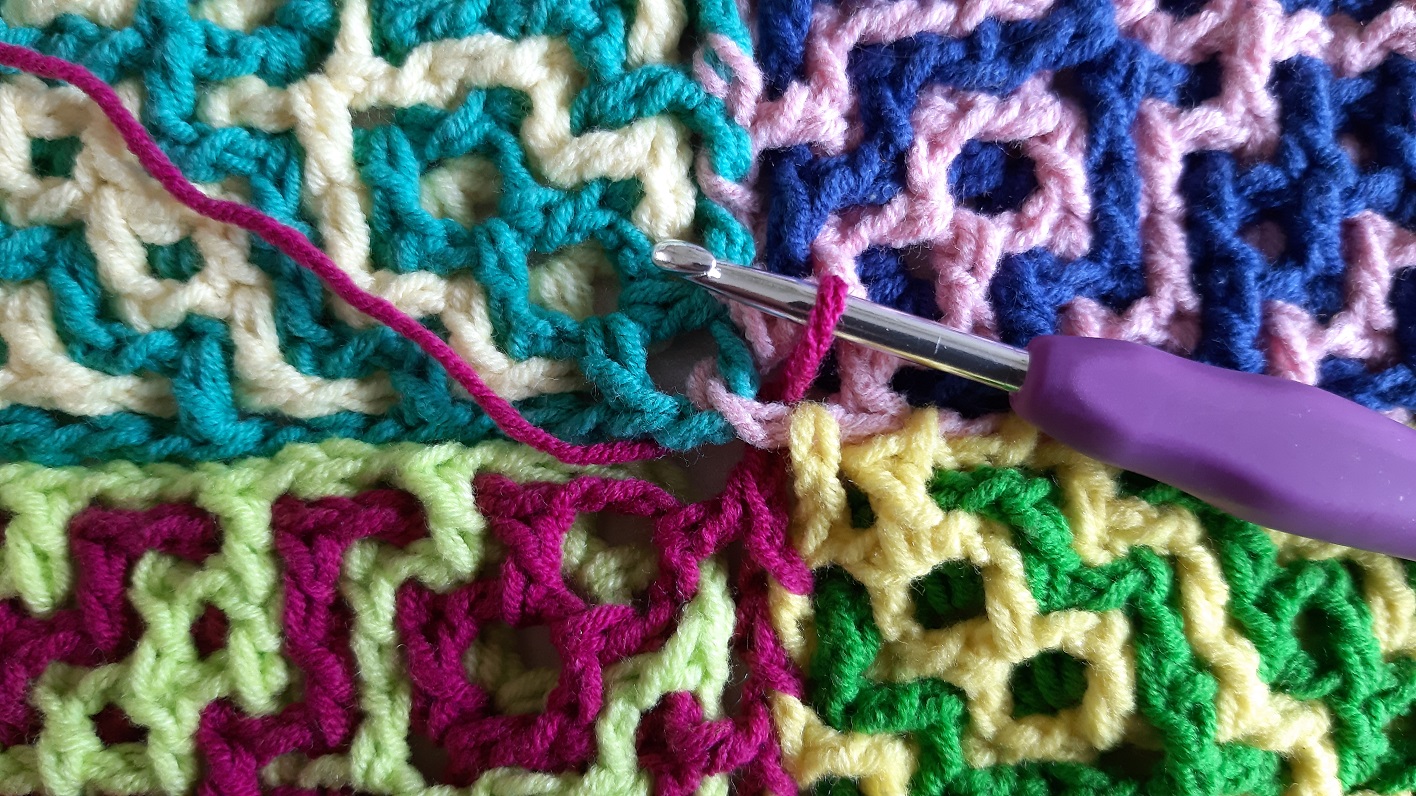
Again you have a choice here through which corner you will pull the loop through: through the corner of the first piece, the second piece or the third piece. Experiment again what you find looking the best, also in combination with the choice of the corner with the previous corner join. And also look at the back if the result pleases you. In the video I chose the corner of the first piece, so you can see how that looks.
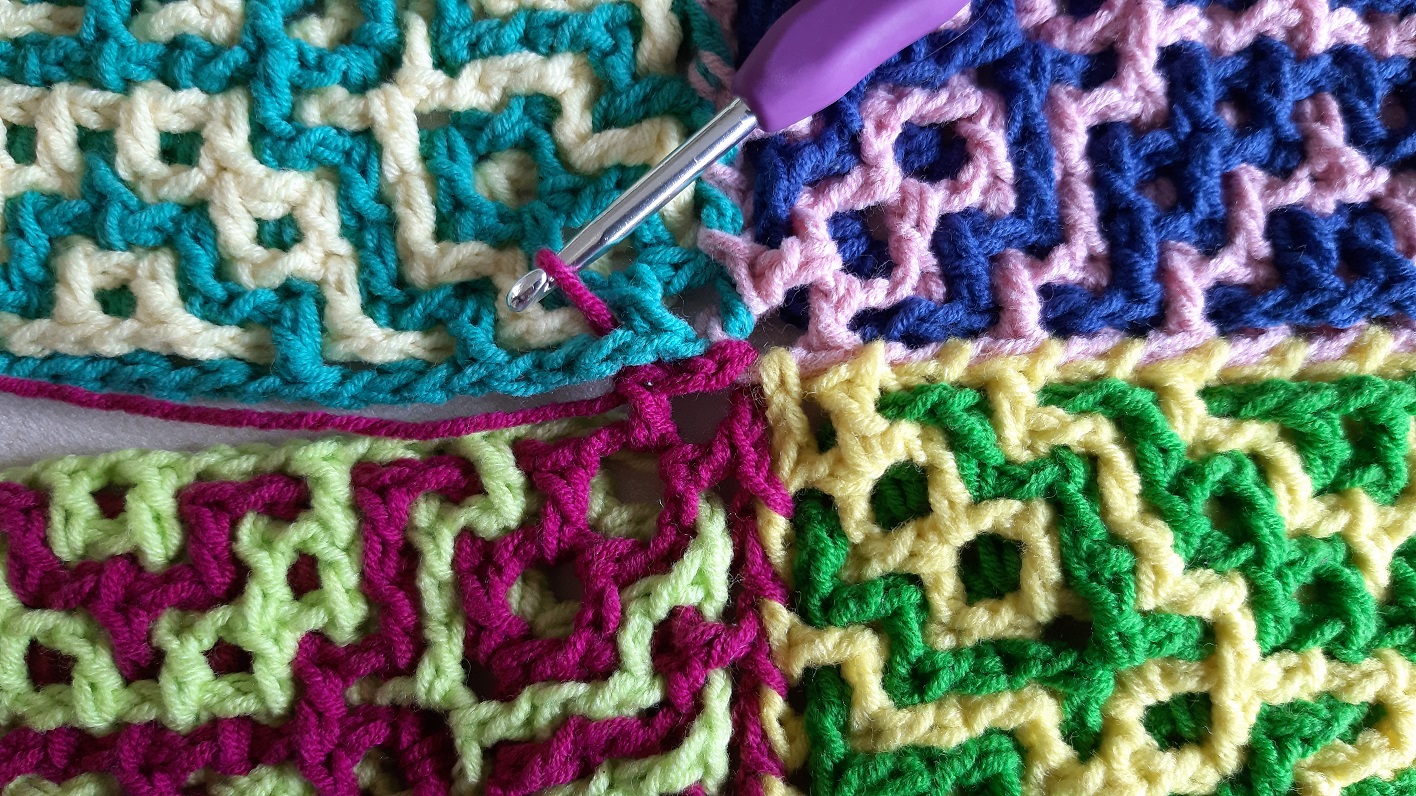
Make the next 2 corner chains and the first corner dc at the front for the next side.
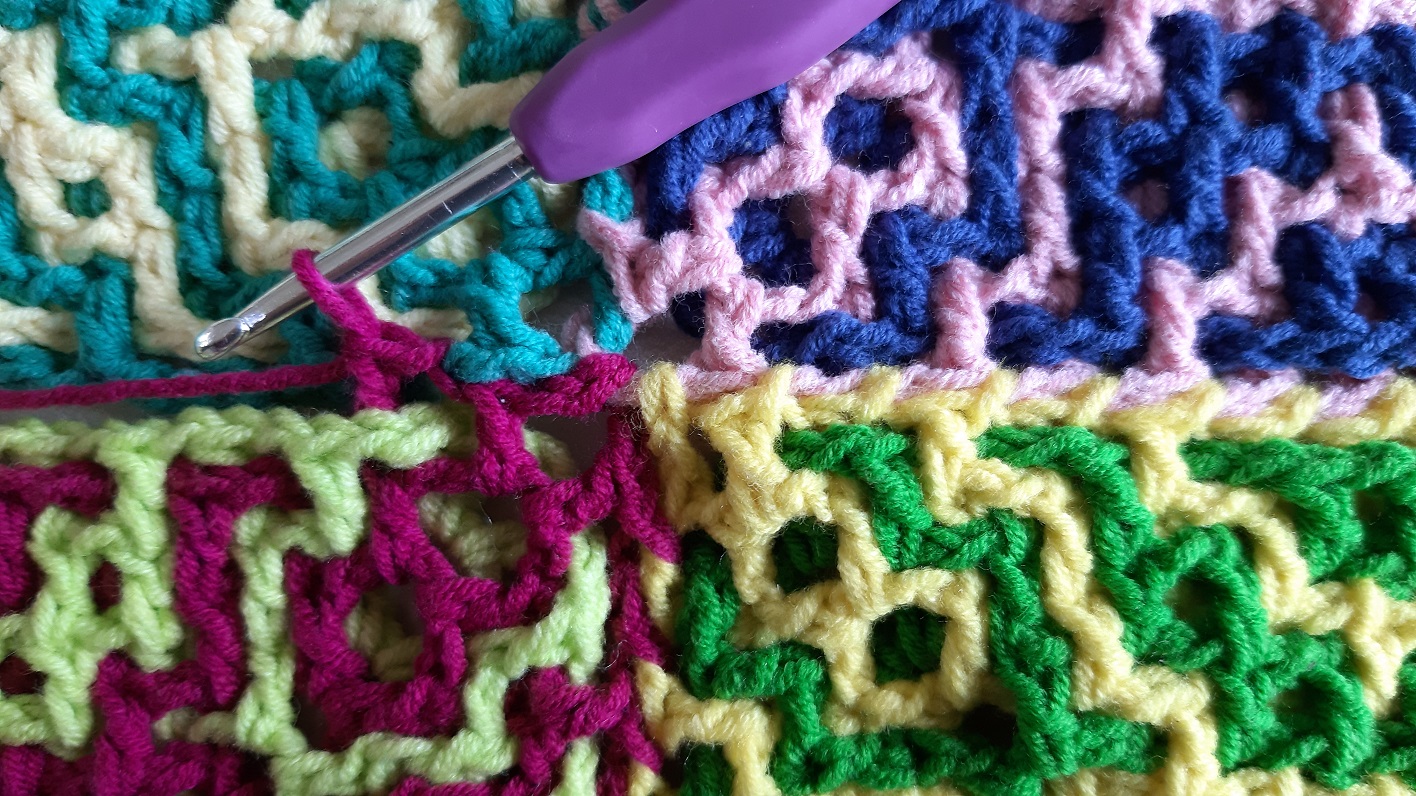
Now contine with the join of the next side. Here you see that the in betweeen chain is made into the next opening and the next dc at the back.
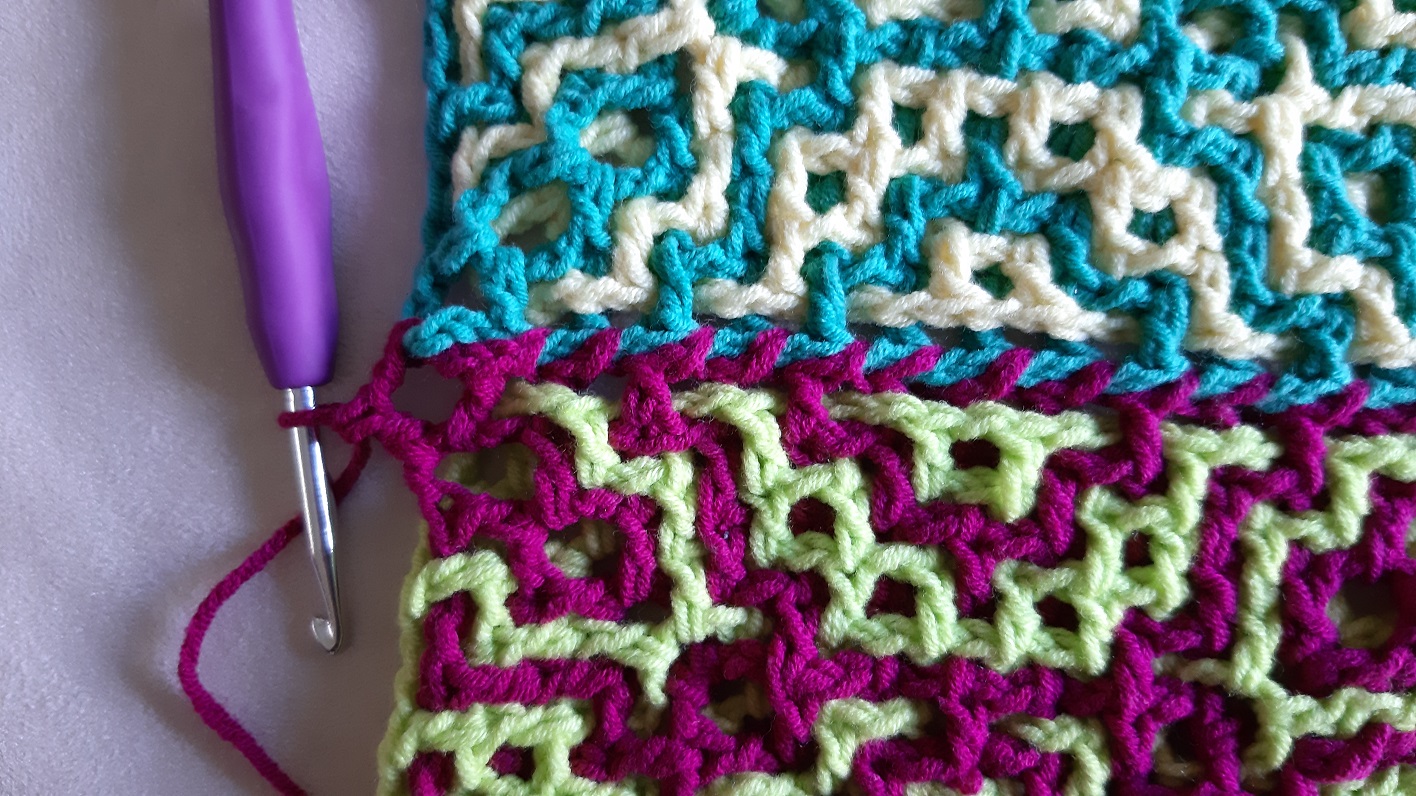
And this is the end of the last join.
The result at the front.
The result at the back.

